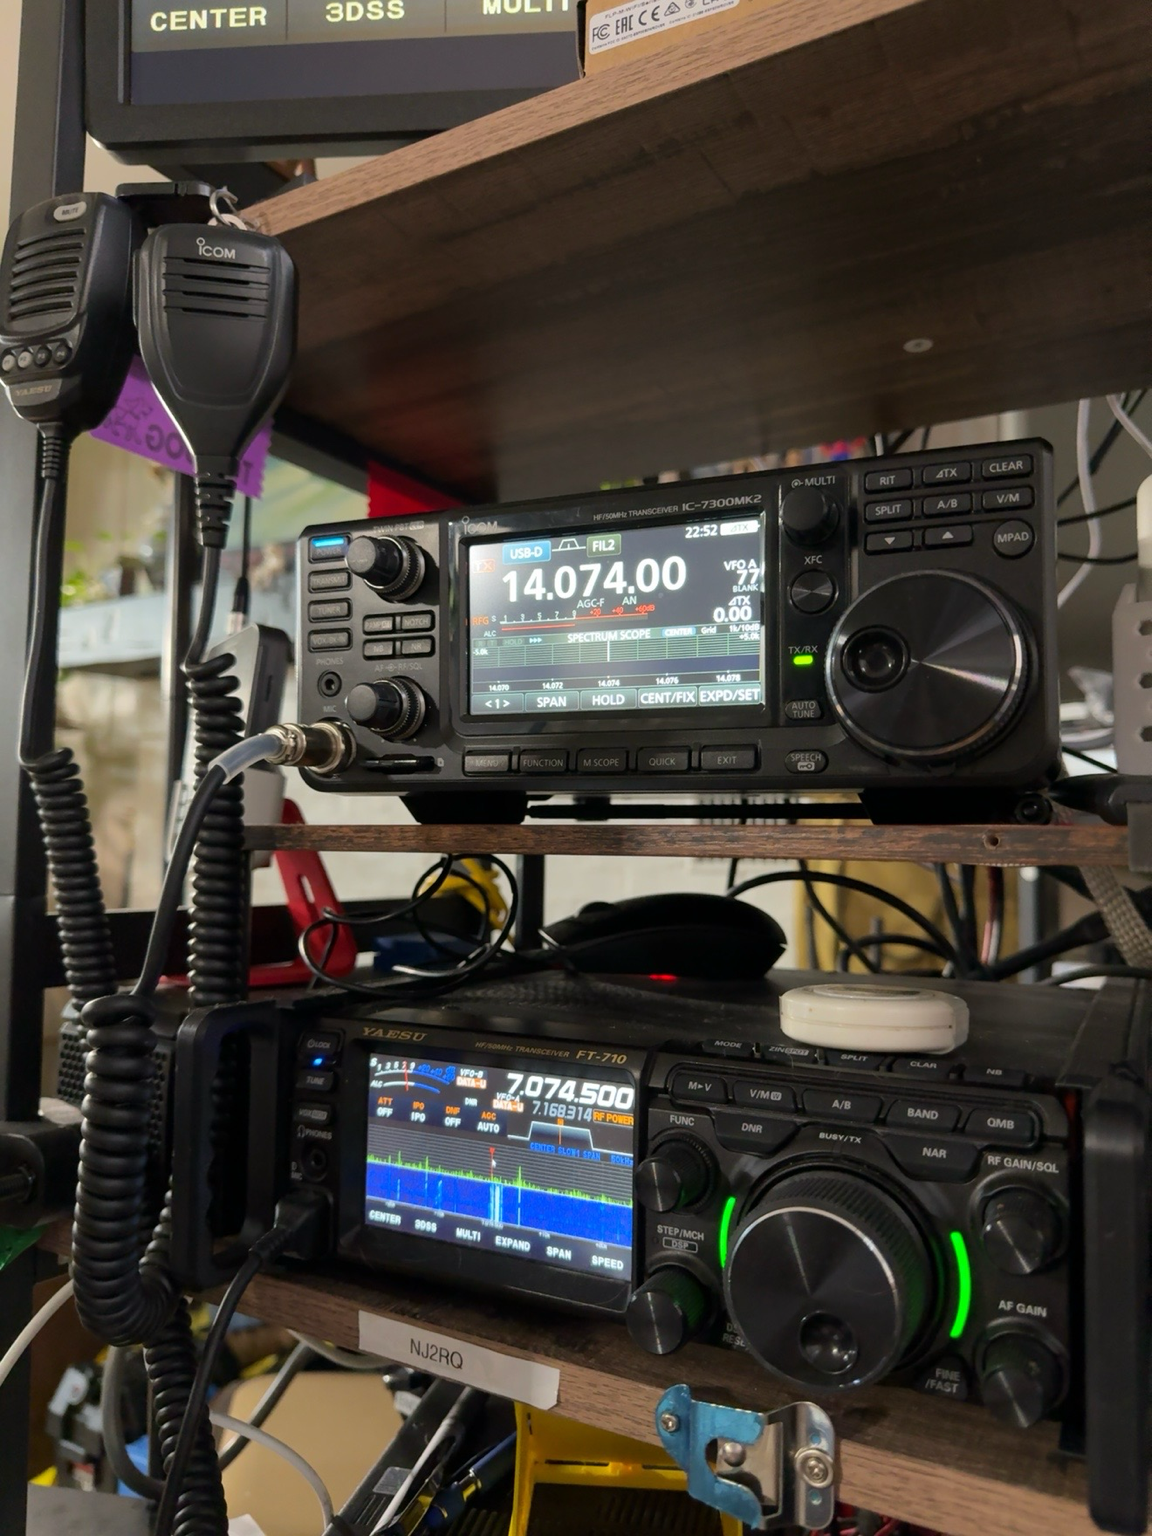
Want to send pictures over amateur radio using nothing more exotic than a Windows PC, a sound-card connection, and your transceiver? MMSSTV is one of the classic ways to get started with Slow Scan Television, or SSTV.
SSTV does not send moving television. Instead, it converts a still image into audio tones that fit inside a normal voice-width radio channel. Another station receives those tones and reconstructs the picture line by line. It is a simple concept, but seeing a photograph appear out of the noise is still one of the most satisfying things you can do on the amateur bands.
What is MMSSTV?
MMSSTV is a Windows SSTV program written by Makoto Mori, JE3HHT. It uses a computer sound device to receive and transmit SSTV audio and supports many familiar SSTV modes, including Martin, Scottie, Robot and PD modes.
The official MM HamSoft site currently offers MMSSTV version 1.13A. That release dates from 2010, so this is mature, classic ham-radio software rather than a newly developed Windows application. It is still widely referenced and remains available from the official site. MMSSTV has also been released as open-source software.
Download tip: use the official MM HamSoft page rather than a random software-download site: MM HamSoft — MMSSTV.
What do you need?
For basic receiving, the setup is straightforward:
- A Windows computer.
- An amateur-radio receiver or transceiver.
- A way to route receiver audio into the computer.
- MMSSTV.
For transmitting, you also need a way to route computer audio back into the radio and a reliable method of keying PTT. That may be handled by a radio’s USB audio interface, a dedicated sound-card interface such as a SignaLink, another digital-mode interface, VOX, or serial/CAT control depending on the radio and station setup.
If your transceiver already appears in Windows as a USB audio device, you may not need an additional external sound card. The important part is selecting the correct input and output devices in MMSSTV and keeping your transmit audio clean.
The easiest way to start: receive first
Before transmitting anything, spend some time receiving. It lets you learn the program without worrying about PTT, RF output or transmit audio levels.
- Install MMSSTV from the official source.
- Open the program and select the correct Windows audio input and output devices.
- Tune the radio to an SSTV activity frequency.
- Turn the radio squelch off so MMSSTV can hear the complete signal.
- Open the RX screen and watch for an SSTV transmission.
When MMSSTV recognizes a supported signal, the picture is built on the screen one line at a time. If the image is badly tilted or slanted, sound-card clock calibration or slant adjustment may be needed.
Where can you listen?
ARRL’s current band-plan information lists several common SSTV activity frequencies in the United States, including:
- 7.171 MHz on 40 meters
- 14.230 MHz on 20 meters
- 21.340 MHz on 15 meters
- 28.680 MHz on 10 meters
14.230 MHz is probably the best-known HF SSTV meeting point in North America. Remember that band plans are operating guidance rather than a guarantee that a frequency is clear. Listen first, follow your license privileges, and avoid interfering with an ongoing contact.
Which SSTV mode should a beginner use?
You will see names such as Martin 1, Scottie 1, Robot 36 and PD120. They are different ways of encoding the image, with tradeoffs in transmission time, resolution and tolerance of poor conditions.
For ordinary HF experimenting, Martin 1 is a very sensible starting point. One published VHF/FM comparison also found Martin 1 to be a strong general-purpose choice under marginal conditions, while Robot 36 provides a much faster image when signal quality is good.
PD120 is a higher-resolution mode familiar to many operators from SSTV experiments involving the International Space Station, but you should always follow the mode specified for a particular event rather than assuming every transmission uses the same format.
Getting ready to transmit
Once reception is working, move on to transmitting. Load a picture into the TX window and add your callsign so the receiving operator can identify the source. Start with conservative audio levels.
Do not simply turn the computer volume all the way up. Too much audio can overdrive the transmitter and create a poor SSTV signal. Use the radio’s ALC or transmit-level indications as appropriate for your equipment, and adjust the PC/interface audio for a clean signal.
A dummy load is an excellent place to test your PTT and audio path before transmitting on the air.
A simple first-contact routine
A good first SSTV session can be very simple:
- Monitor the SSTV frequency for a while.
- Make sure the frequency is not already in use.
- Identify by voice if appropriate.
- Select the SSTV mode you intend to send.
- Transmit a simple image containing your callsign.
- Return to receive and see who answers.
You do not need a complicated graphic. A station photo, antenna photo, QSL-style image, test card or simple callsign graphic is enough.
Why MMSSTV is still worth trying
MMSSTV looks old-school because it is old-school. But that is also part of its appeal. It is lightweight, purpose-built, well documented, and teaches the operator what is actually happening between the radio, sound system and SSTV signal.
For someone already comfortable with FT8, Winlink, DMR or other computer-assisted ham-radio modes, SSTV is a fun change of pace: instead of exchanging a few characters, you are exchanging an actual picture over RF.
My suggestion: install MMSSTV, start by receiving on 14.230 MHz when 20 meters is open, and get one clean picture on the screen before worrying about transmitting. Once that works, the rest of the setup makes much more sense.
73 — NJ2RQ