Demystifying Digital Mobile Radio for New Operators
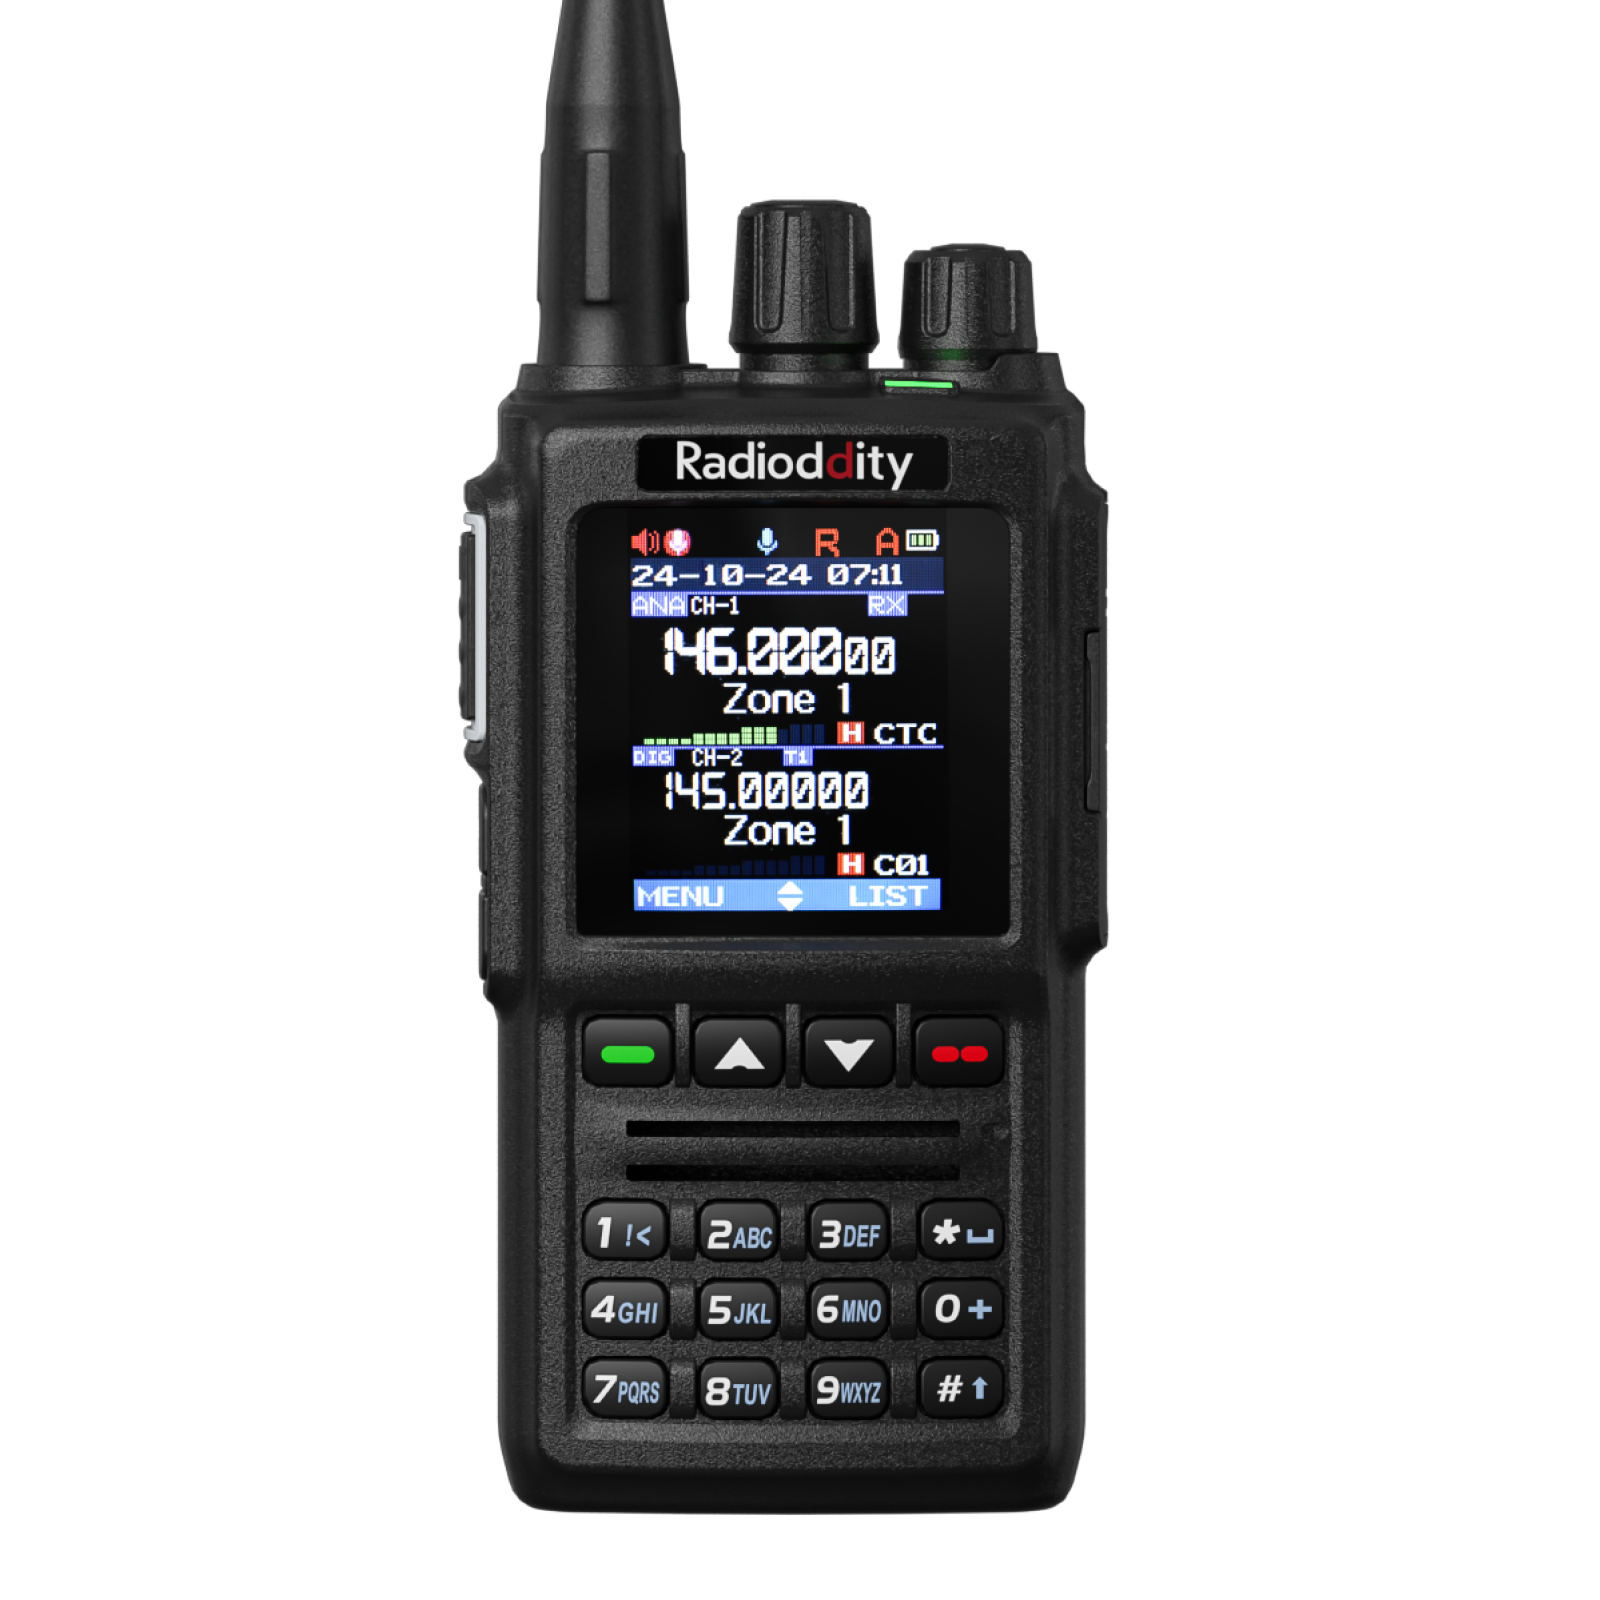
Digital Mobile Radio, commonly known as DMR, represents one of the most significant technological leaps in modern amateur radio. While traditional analog FM remains a reliable staple of local communications, digital voice modes have unlocked global connectivity without requiring massive high-frequency antennas or ideal atmospheric conditions. By leveraging the power of the internet coupled with local repeaters or personal hotspots, DMR allows an operator with a simple handheld transceiver to converse with fellow hams across continents in crystal-clear digital audio. However, transitioning from the straightforward world of tuning a VFO dial to the structured architecture of DMR can feel overwhelming to beginners. The initial hurdle lies in understanding how digital systems organize traffic and how to program your radio accordingly. This guide demystifies the entire ecosystem, taking you from a curious listener to an active operator on the digital airwaves with a clear, step-by-step setup process. By mastering the core elements of digital configuration, you will transform your radio into a portal for global discussion, linking local radio waves directly into extensive fiber-optic routing networks that connect radio operators across the world instantly and reliably. This tutorial is specifically designed to guide you smoothly through every critical technical checkpoint of the digital configuration process.
“DMR bridges the physical limitations of VHF and UHF line-of-sight propagation by routing digital packets across global internet-linked networks.”
Essential Prerequisites for the DMR Journey
Before purchasing hardware or attempting to program a radio, several foundational requirements must be met. These components ensure that you are legally authorized to transmit and that your radio is recognized by the global digital servers routing the traffic. First, you must hold an active amateur radio license. You must possess a valid ham radio call sign issued by your national licensing authority, such as the Federal Communications Commission or Ofcom. Second, you need a registered DMR ID. Unlike analog communications where you simply state your call sign, DMR networks rely on a unique seven-digit numerical identification. This ID maps your call sign to your digital transmissions. You can obtain this registration free of charge from RadioID.net by uploading a copy of your amateur radio license. Third, ensure hardware compatibility. You will need a DMR-capable transceiver. Popular entry-level handheld options include the AnyTone AT-D878UVII Plus, the Alinco DJ-MD5, or the TYT MD-380. Finally, you need the proper programming cable and Customer Programming Software. This software is model-specific, and using mismatched software can render your radio temporarily inoperable.
Core Concepts of Digital Mobile Radio
To program your radio successfully, you must comprehend the four pillars of DMR architecture. Unlike analog channels where frequency and tone are the only variables, DMR divides a physical frequency into logical pathways. Time Division Multiple Access is the underlying engine that makes DMR incredibly efficient. By cycling transmissions back and forth in rapid milliseconds, two separate conversations occur simultaneously on the exact same repeater. If you transmit on the wrong timeslot, you will disrupt ongoing traffic or fail to access the network entirely. Color Codes (0–15) help a receiver recognize the intended DMR repeater, somewhat like analog CTCSS tones. They do not prevent radio-frequency interference: use the exact Color Code specified by the repeater owner. Talkgroups are virtual channels routing audio to specific geographical regions, topics, or networks. Finally, Zones are logical folders used to group channels together, such as organizing repeaters by county or system type. Understanding how these four components interact is essential for constructing a functional configuration. When you write a channel into your radio, you must specify the frequency, timeslot, color code, and talkgroup to successfully complete the digital link.
Step-by-Step Programming Guide
Building your first codeplug requires a methodical approach. Follow these numbered steps to configure your device correctly.
- Register and Secure Your DMR ID: Visit the official registration portal at RadioID.net. Submit your call sign, contact information, and license copy. Once approved, write down your seven-digit ID number.
- Download the Correct CPS: Locate the manufacturer’s website for your transceiver. Download the exact CPS version that matches your radio’s current firmware. Install the USB driver for your programming cable on your PC before connecting the physical radio.
- Input Your Radio ID in CPS: Open the programming software. Navigate to the “Digital” or “Radio ID List” menu. Enter your seven-digit DMR ID and your call sign in the designated fields. This step links your transmissions to your legal identity.
- Build Your Digital Contacts: In the CPS menu, find the “Talk Groups” or “Digital Contacts” section. You must manually add the specific talkgroups you wish to monitor or join. For example, add BrandMeister Talkgroup 91 (Worldwide) as a Group Call and Talkgroup 3100 (United States) as another Group Call.
- Configure the Repeater Channel: Create a new channel in the software. Select “Digital” as the channel type. Enter the correct receiving and transmitting frequencies for your local DMR repeater. Set the Color Code and assign the correct Timeslot. Finally, link the channel to the Digital Contact Talkgroup you configured in step four.
- Group Your Channels into a Zone: Navigate to the “Zones” menu, create a folder named after your local repeater, and drag the channel into it.
- Write the Codeplug: Connect your transceiver to your computer, select the correct COM port, and click “Write to Radio.”
“A codeplug is simply a blueprint of your operating environment, mapping digital addresses to localized RF pathways.”
Initiating Your First Digital Contact
Once your transceiver reboots, you are ready to make your inaugural transmission. Select the zone you created and choose your target talkgroup channel. Before pressing the Push-To-Talk button, listen closely for a few seconds to ensure the timeslot is clear. When you press the PTT button, your radio will send a digital request to the repeater. Your radio may emit a tone or show a transmit indicator, but that alone does not prove your audio reached the network. Confirm with a reply or check your repeater or hotspot’s last-heard dashboard. State your call sign clearly and indicate that you are testing your new setup. Because digital audio processing introduces a tiny delay of about half a second, always pause for a moment after pressing the PTT button before speaking. This ensures your first word is not cut off by the system’s gatekeepers. Depending on your radio and its installed contacts database, you may see the responding station’s DMR ID, call sign, name, or location.
Troubleshooting Common Programming Failures
Even experienced operators encounter occasional setbacks when configuring digital radios. If your radio gives an error or busy tone, check repeater coverage, frequencies and offset, Color Code, Time Slot, talkgroup permissions, and whether the slot is already occupied. If your transceiver transmits but receives no audio, verify your RX Group List settings in the CPS to ensure incoming talkgroups are not being ignored by your squelch filter.
Practical Operating Etiquette and Networks
DMR repeaters and hotspots may have static talkgroups that remain linked and dynamic talkgroups activated temporarily by transmitting. On BrandMeister’s U.S. master servers, dynamic talkgroups normally time out after 15 minutes without local activity; rules vary by network. Consult the repeater owner’s published Time Slot and talkgroup plan before transmitting. BrandMeister TG 91 is Worldwide and TG 3100 is the U.S. nationwide calling and conversation group. Once you establish a lengthy contact on a busy talkgroup, move together to an appropriate less-busy group; BrandMeister’s TAC 310–319 groups are intended for moving an existing conversation, not calling CQ. For up-to-date operating information, see BrandMeister’s static and dynamic talkgroup guide and TAC channel guidance.
Summary and Next Steps
Mastering DMR opens exciting digital frontiers. By securing your personalized ID, understanding key architectural concepts, and programming your codeplug properly, you connect globally. Keep learning daily, share this helpful guide on social platforms, and join our vibrant global conversation today.
Leave a Reply