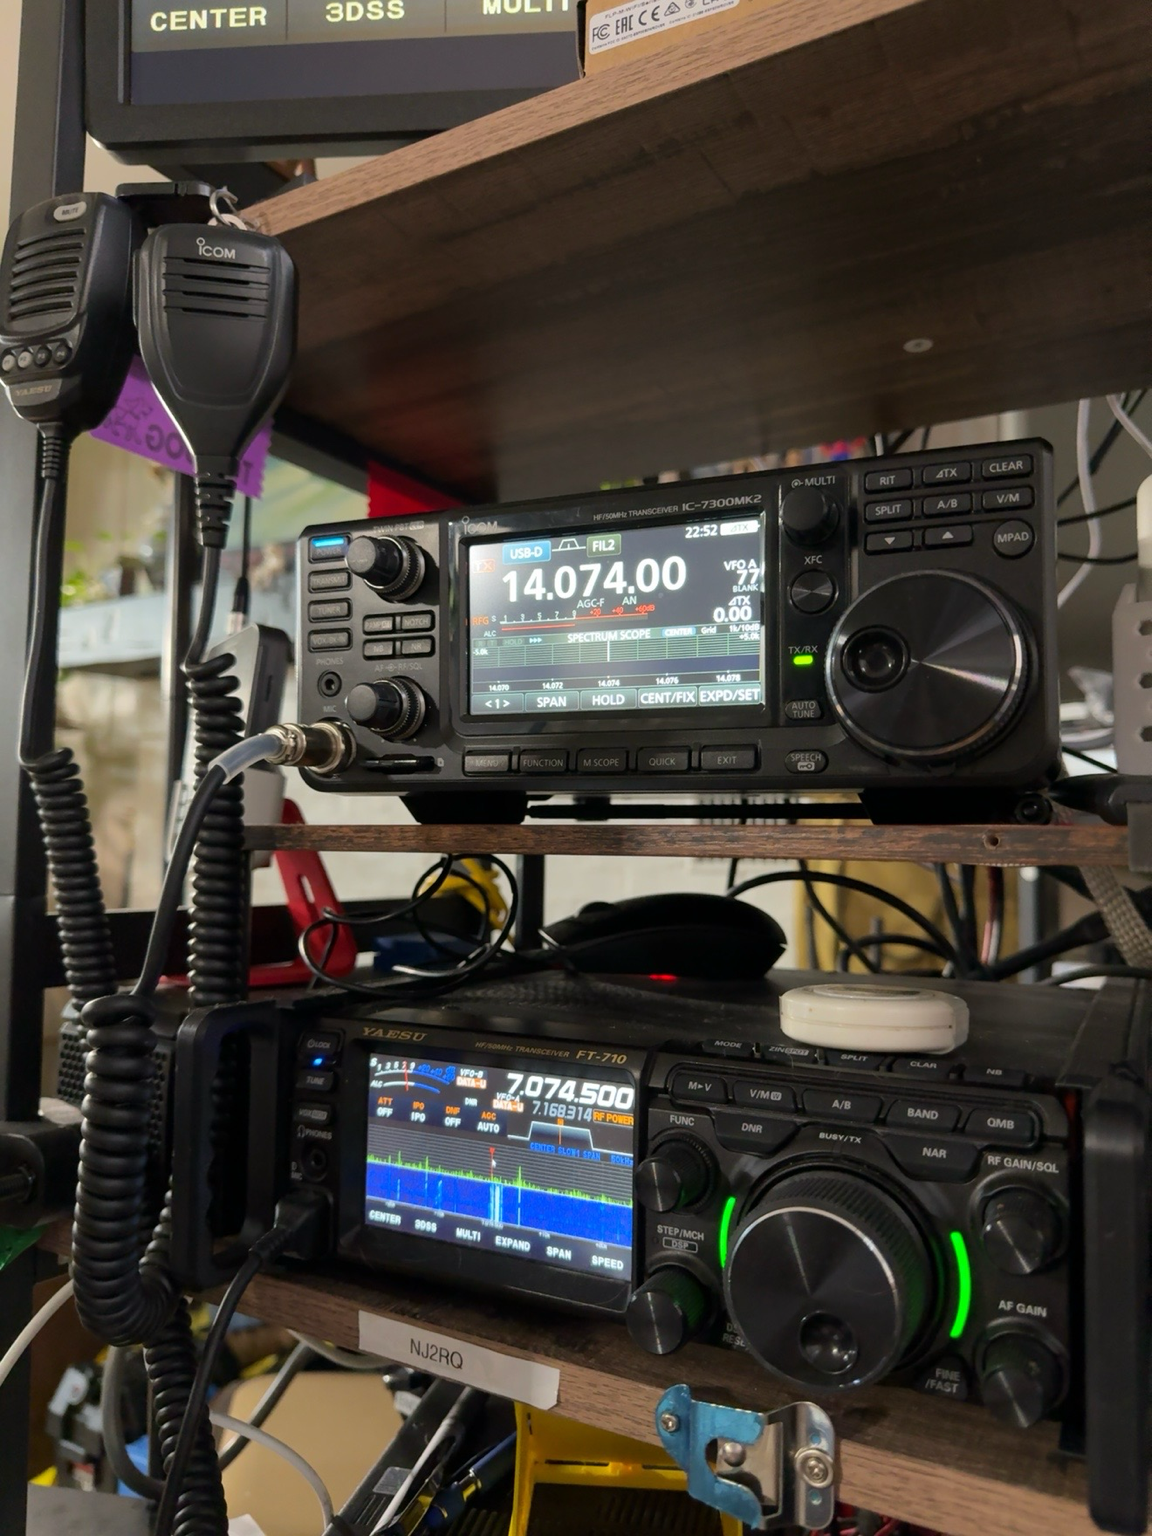
Winlink Global Radio Email lets licensed amateur radio operators send and receive messages through the Winlink system using either the internet or radio. It is especially useful for emergency communications, field exercises, portable operating, and situations where ordinary local communications are unavailable. The easiest way to learn it is to begin with Telnet, confirm that your account and software are working, and only then add the radio connection.
This guide focuses on Winlink Express on Windows and the most common beginner paths: Telnet, VARA FM for VHF/UHF, and VARA HF for HF.
What You Need
- A valid amateur radio license and your callsign.
- A Windows computer for Winlink Express.
- Winlink Express, downloaded from the official Winlink site.
- For radio use, a compatible transceiver and an audio/PTT or USB interface.
- For VARA sessions, the separate VARA HF or VARA FM modem software.
Beginner tip: do not start by troubleshooting the radio, sound card, CAT control, PTT and Winlink account all at once. Set up Winlink Express and prove it works with Telnet first.
How the Winlink System Works
Winlink Express is the client program on your computer. When you use Telnet, it connects to the Winlink system through your normal internet connection. When you use radio, your station connects over the air to a participating Radio Message Server, or RMS. That gateway passes your traffic into the Winlink system.
The important point is that your station does not need a local internet connection when you are using an RF session. You need a radio path to a suitable RMS. The gateway and the wider Winlink network handle the rest. Specialized radio-only and contingency configurations also exist, but they are beyond the scope of this beginner guide.
Which Radio Setup Should You Use?
| Goal | Typical Setup |
|---|---|
| Learn the software | Telnet Winlink — no radio required |
| Local or regional VHF/UHF | FM transceiver + audio/PTT interface + VARA FM |
| Longer-range HF | SSB HF transceiver + USB/sound interface + VARA HF |
A handheld can sometimes be used for VHF/UHF Winlink, but a mobile radio is often easier and more reliable for sustained digital operation because of audio interfacing, transmit duty cycle and stable power. On HF, a modern transceiver with built-in USB audio can simplify the setup considerably. External interfaces such as a DigiRig or SignaLink can also work well when matched correctly to the radio.
Step 1: Download Winlink Express
Download the current Winlink Express installer from the official Winlink download area at downloads.winlink.org. Extract the ZIP file and run the installer.
Winlink Express normally keeps its working files under C:\RMS Express. Using the normal installation choices is the simplest approach for most operators.
Step 2: Complete the First-Start Setup
When Winlink Express opens for the first time, complete the setup form carefully. Enter your amateur radio callsign, a Winlink password, your password-recovery email address and the other requested station information. If you know your Maidenhead grid square, enter it as well.
This is an important correction to some older instructions found online: with current Winlink Express, you should enter a password during initial setup. Do not intentionally leave the password blank while waiting for a temporary password. Winlink’s current account instructions say to enter your password and recovery address, then click Update to create the account.
Winlink’s own account instructions are available at winlink.org/user.
Step 3: Test Everything With Telnet
Before connecting a radio, test the basic installation:
- Open Winlink Express.
- Choose Telnet Winlink from the session drop-down.
- Click Open Session.
- In the session window, click Start.
- Watch the session log for a successful connection.
If Telnet works, you have already proven that Winlink Express, your callsign, your password and the network connection are functioning. If the later radio session fails, you can concentrate on the radio side rather than wondering whether the entire installation is wrong.
Step 4: Send Your First Message
- Click New Message.
- Enter the destination address.
- Add a short subject.
- Type a brief test message.
- Click Post to Outbox.
- Open a Telnet Winlink session and click Start.
The message in the Outbox will be transferred during the session. Once you are comfortable sending and receiving through Telnet, you are ready to add radio.
Step 5: Add VARA FM for VHF/UHF
VARA FM is a separate modem program. Download the current release from the official Winlink-hosted VARA directory at downloads.winlink.org/VARA Products.
You will need to select the correct input and output audio devices in VARA FM and configure a PTT method supported by your station. Depending on the radio and interface, PTT may be handled by CAT control, a serial RTS/DTR line, VOX or another supported method.
In Winlink Express, choose a VARA FM Winlink session, configure the radio and VARA settings, select a reachable RMS, and connect. Start with conservative transmit audio. Too much audio can distort the signal and make an otherwise strong path impossible to decode.
Step 6: Add VARA HF for Longer Range
VARA HF works on the same general principle but uses an HF SSB transceiver. Select the correct radio control method, COM port if required, sound-card input and output, and PTT configuration.
Keep the transmitted audio clean. On an HF radio, excessive audio drive and ALC can reduce the quality of a digital signal. Use enough RF power to make the path reliably, but do not try to compensate for poor audio settings by simply increasing power.
VARA Free vs. Licensed
VARA can be used without purchasing a registration key, but unregistered operation is speed-limited. A VARA license unlocks higher speeds. You can learn Winlink and make working connections before deciding whether the higher-speed VARA license is worthwhile for your station.
Finding a Gateway
Winlink Express can obtain lists of RMS stations for the session type you are using. Choose a gateway that supports the mode you have configured and that is appropriate for your location and propagation conditions.
For VHF/UHF, the most important factor is usually whether you have a usable local RF path. For HF, band conditions, time of day, distance and antenna efficiency matter. If one gateway does not work, that does not automatically mean your station is misconfigured.
Common Problems
Telnet Does Not Connect
Check the callsign, password, internet connection and security software first. Fix Telnet before moving on to RF troubleshooting.
VARA Opens but the Radio Does Not Transmit
Check the selected PTT method, COM-port assignment, CAT settings, cabling and interface configuration.
The Radio Transmits but the Gateway Does Not Decode You
Check transmit audio level, the correct sound-card device, frequency, mode, bandwidth and whether the chosen gateway is actually reachable. Excessive transmit audio is a common cause of failed digital connections.
VARA Cannot Find the Audio Device
Windows may have renumbered or renamed a USB audio device. Recheck the input and output selections in VARA after reconnecting USB equipment.
A Simple Learning Plan
- Install Winlink Express.
- Create and verify your account information.
- Complete a successful Telnet session.
- Send a short message by Telnet.
- Install either VARA FM or VARA HF.
- Configure audio and PTT.
- Connect to a suitable RMS.
- Send the same type of short message over radio.
That sequence keeps the learning curve manageable because you are changing only one major part of the system at a time.
Where to Go Next
Once the first connection works, practice before you actually need Winlink. Try sending a message, receiving a reply, reconnecting after restarting the computer, and repeating the process without notes. Emergency communications tools are most valuable when the operating steps have become familiar.
If digital radio is new to you, you may also enjoy DMR Made Easy and my overview of repeater linking and radio-over-internet systems.
Bottom line: start with Telnet, prove the account works, then add the radio path. That one habit eliminates a large amount of unnecessary troubleshooting and makes Winlink much easier to learn.