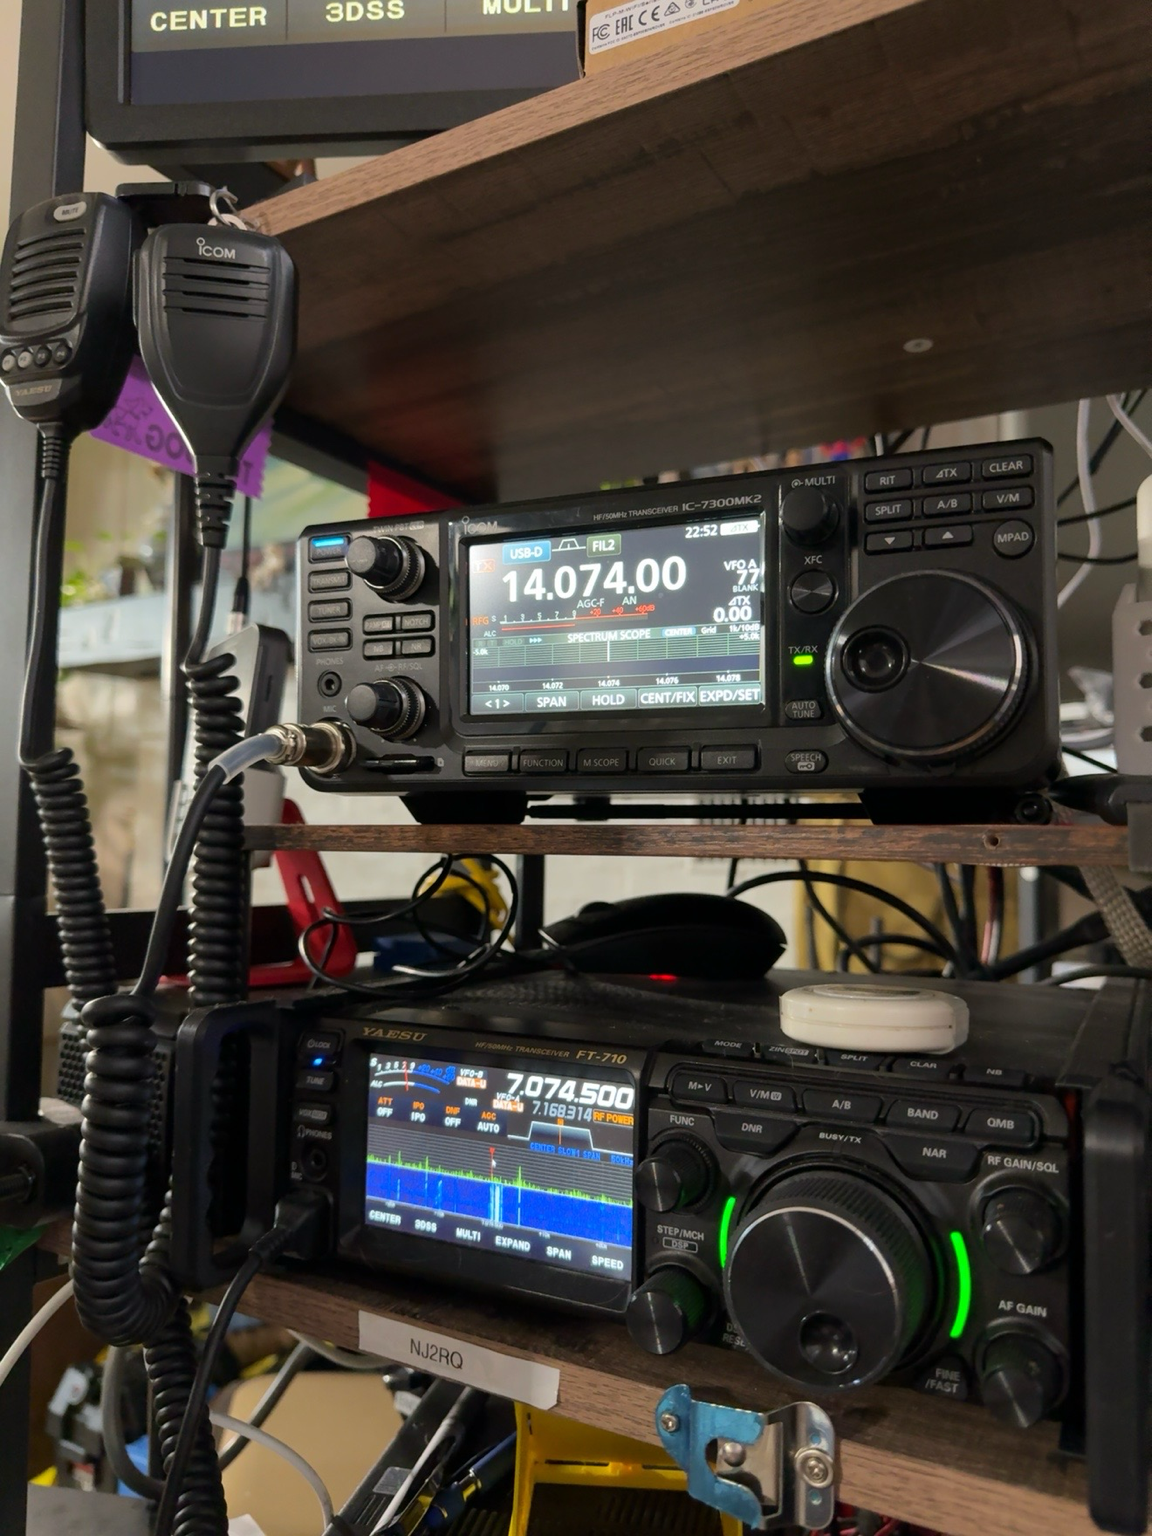
Want to try D-STAR but aren’t sure where to start? You don’t need a complicated Internet setup just to make your first local contact. Start with a compatible D-STAR radio, find a nearby D-STAR repeater, enter your call sign, and make a local call. Once that works, explore worldwide gateway contacts and reflectors.
What is D-STAR?
D-STAR (Digital Smart Technologies for Amateur Radio) is a digital amateur-radio protocol developed by the Japan Amateur Radio League. Its digital voice (DV) mode works by radio directly between stations or through compatible repeaters. Internet-connected gateways can extend conversations to distant repeaters and networks. D-STAR is different from DMR and Yaesu System Fusion: a radio supporting one format does not automatically transmit the others.
Step 1: Gather the essentials
- A properly licensed amateur-radio operator and a D-STAR-capable transceiver. Examples include compatible Icom ID-series handhelds and mobiles and other radios specifically supporting D-STAR DV.
- An antenna suitable for the chosen frequency and an adequately charged battery or power supply.
- A nearby D-STAR repeater’s current frequency, offset, module/band, and access instructions, or a second D-STAR radio for simplex testing.
- Your radio’s manual. Menu names vary by model, so use the manual rather than entering somebody else’s radio-specific settings blindly.
Find a repeater using a local club or the D-STAR repeater directory. Confirm that it is actually operating and accepts local D-STAR traffic. A hotspot can be useful later, but it isn’t required for a local repeater or simplex contact.
Step 2: Enter your amateur call sign
In your radio’s call-sign settings, enter your own licensed call sign under MY or MYCALL (the exact label depends on the radio). Check every letter and digit. Digital transmissions include this call-sign information, but you must still follow your jurisdiction’s station-identification rules.
Step 3: Start with a local D-STAR repeater
- Put the radio in DV (digital voice), not ordinary analog FM.
- If your radio offers DR (D-STAR Repeater) mode, open it and select FROM. Choose your nearby repeater from the radio’s list, updating the repeater database if needed.
- Set TO to Local CQ or the equivalent local-repeater option. Avoid choosing a distant gateway route until your local setup works.
- Verify the correct repeater frequency, offset and module from the local operator’s published instructions. Listen first to avoid interrupting an ongoing conversation.
- Make a brief call, such as: “This is [your call sign], testing D-STAR through [repeater call sign]. Can anyone give me a signal report?” Release PTT and listen.
For an initial simplex test, both stations should use the same permitted simplex frequency and DV mode, without repeater routing. Check your local band plan before transmitting.
Step 4: Register only when you’re ready for gateway features
You do not need Internet gateway registration for direct simplex or ordinary local repeater contacts. For gateway routing over the Internet, registration may be required. If your local repeater participates in the US Trust system, follow its gateway registration link, request registration for your call sign, wait for the administrator’s approval, and complete any requested terminal or equipment information. Other networks have different procedures; follow your gateway administrator’s directions. Do not create multiple conflicting registrations.
Official starting point: Icom’s D-STAR overview. Icom’s detailed manuals provide model-specific call-sign registration and gateway procedures.
Step 5: Try a gateway contact or reflector
- After confirming that your gateway registration and local repeater routing work, select the local repeater in FROM.
- In TO, choose the radio’s gateway CQ, destination repeater, or reflector-link function supported by your repeater. Not every repeater supports every linking command; consult its published instructions and confirm the current reflector and module identifier.
- Listen before calling CQ. Once linked, make a short call including your call sign and location, then allow time for responses.
- Follow the repeater operator’s instructions for disconnecting or restoring its normal link when you finish.
A personal D-STAR hotspot offers another path to Internet-connected conversations when there is no RF repeater nearby; hotspot configuration depends on the hardware and network and belongs in a separate tutorial.
Common problems and easy fixes
- No response? Verify DV rather than FM, the right frequency and offset, adequate signal, your MYCALL entry, and that the repeater is operational.
- Local calls work but Internet routing fails? Check whether the repeater supports the chosen gateway network, whether your registration is complete and whether TO is set to the intended route.
- Wrong destination? Return TO to Local CQ and confirm FROM points to the correct repeater.
- Hotspot doesn’t connect? Check its Internet connection, configured call sign, network selection, frequency and radio’s DV settings without assuming that hotspot instructions apply to your local repeater.
Your first D-STAR checklist
Compatible radio? Correct antenna and band? MYCALL entered? Nearby active repeater? DV/DR mode selected? FROM set to your repeater and TO set to Local CQ? If so, listen and make your first call. Add gateway registration, routing, and reflectors one feature at a time.
Further reading: Icom’s D-STAR FAQ and system introduction and D-STAR repeater directory.